
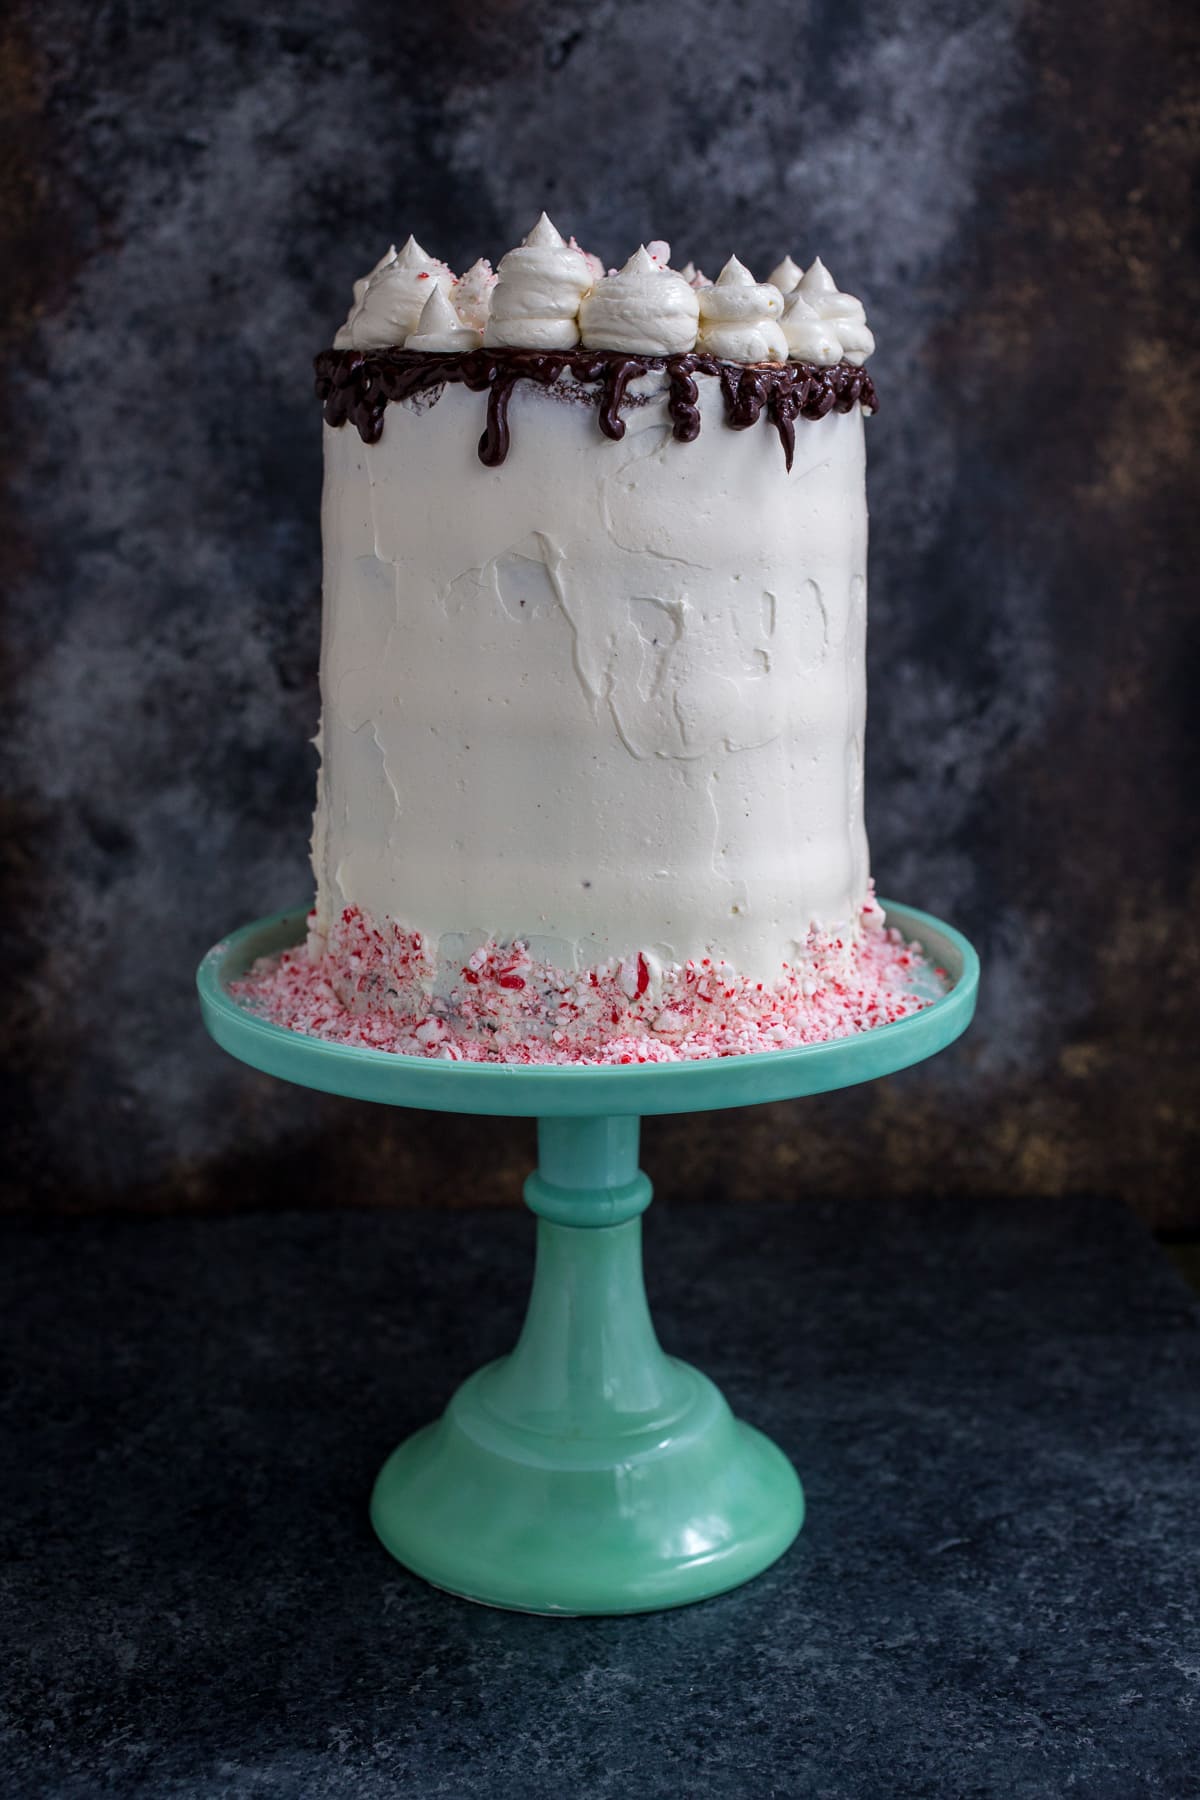
Layers of rich chocolate cake are surround by white chocolate peppermint buttercream for a rich holiday dessert. Serve Chocolate Peppermint Cake this holiday season!
It’s my birthday!!
I made us all a cake to celebrate! A really really tall cake!
It’s become a tradition every year to make something extra special and a new challenge on my birthday. A test if you will to see what I’ve learned and how I’ve grown professionally and personally in the last year. Last year I tackled my fear of deep frying with these churro bites and this year was all about learning how to craft beautiful cakes.
As a professional baker you would think I’d like the day off and maybe let someone else bake for me, but that’s just not going to happen.
Ever since I was a little kid I was really picky about my birthday cakes. I never liked those cakes that came from the bakery and turns out it was because my mom recently confessed she bought the cakes she liked the most more than my preference! Don’t feel too bad for me, my dislike of bakery cake was obvious enough and I eventually got my way with ice cream cakes every birthday party there after.
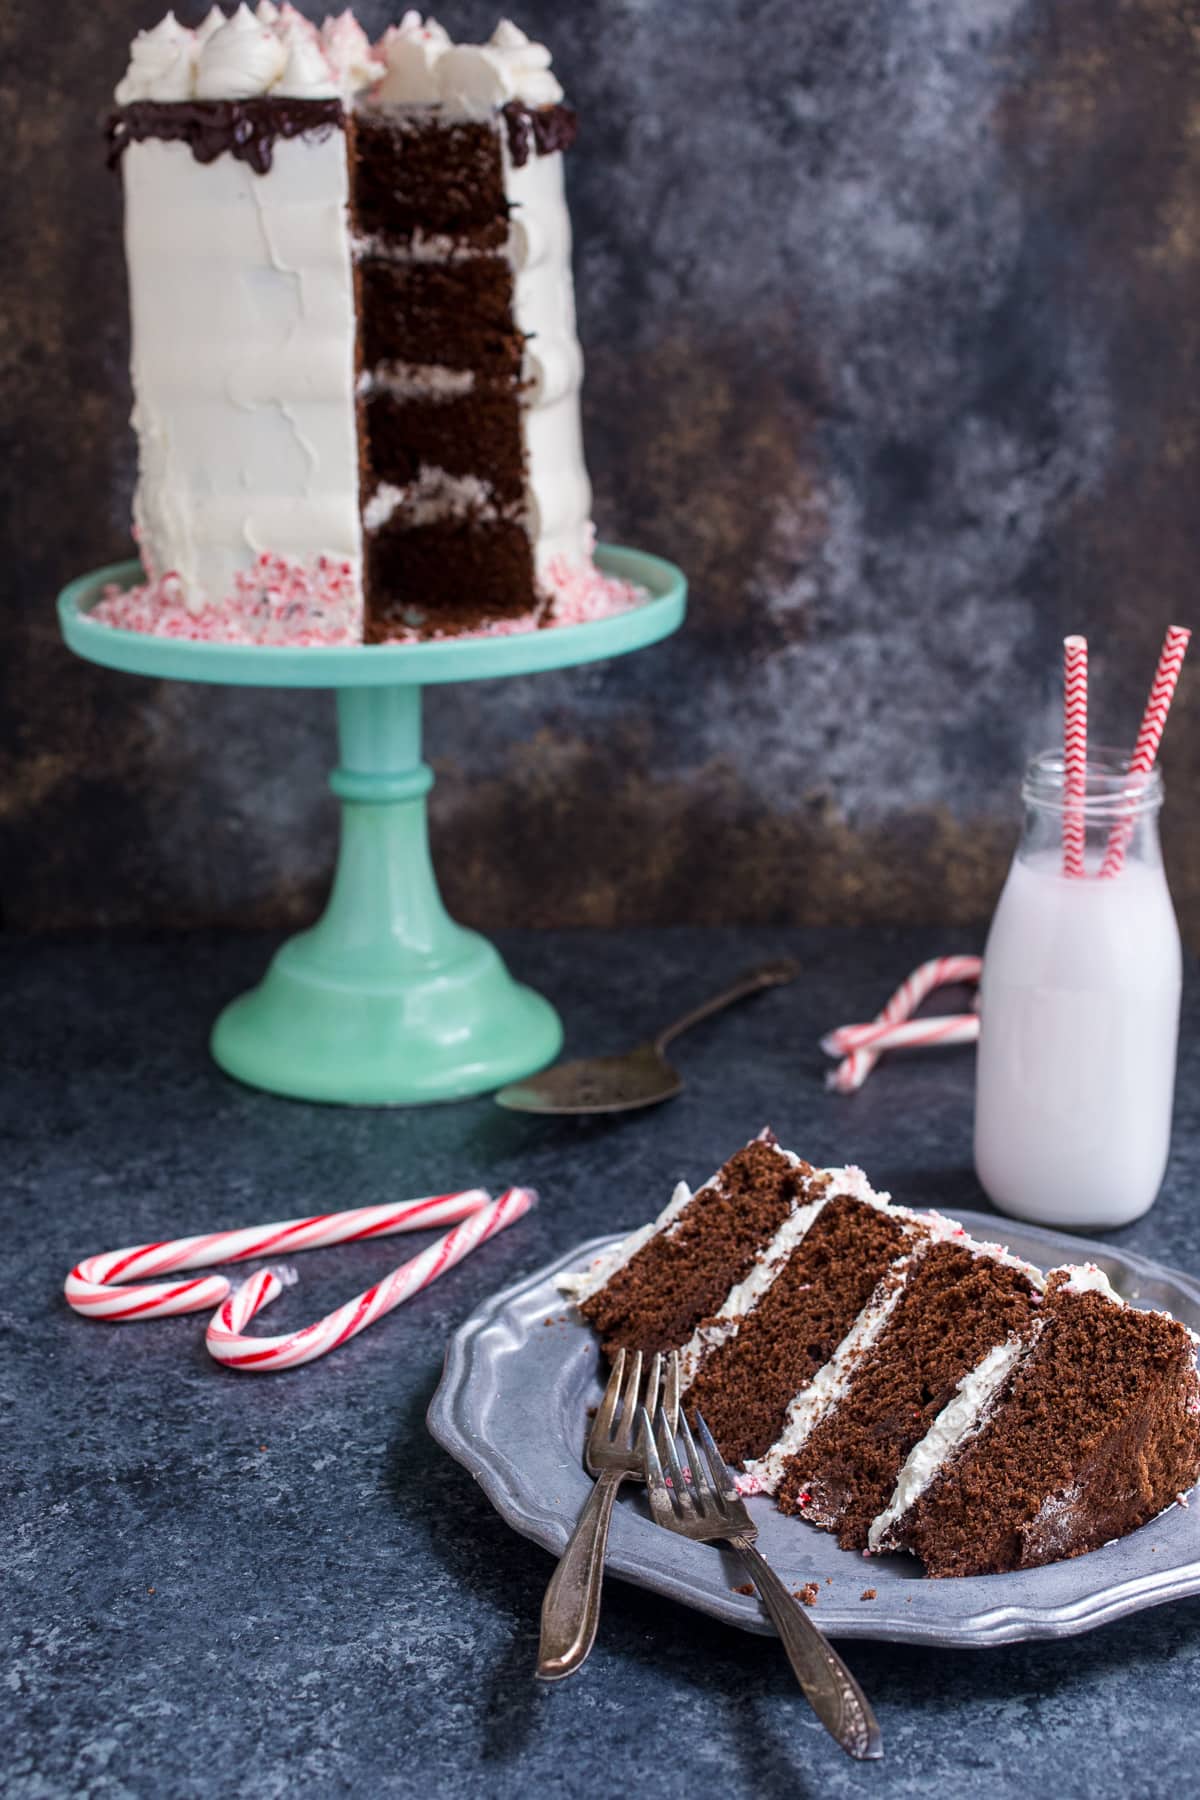
That leads us back to today. Having ice cream on my birthday is still a tradition but I’ve finally discovered cakes that not only taste good but look good too. Did I need to prove my point with a beast of a 4 tier cake? Not really but it was fun.
Enough chatting, let’s start baking cake!
A few baker’s notes before we begin:
- First off you’ll notice the recipe is written in grams. I’ve made this cake so many times that it’s memorized into my mind but only by weight measurement. I highly recommend you bake with a scale. Not only is it more accurate but it actually speeds up the entire process. If you don’t own a scale and would like the recipe in cups measurements, please contact me and I can easily convert it for you.
- The method for baking this cake is slightly different than what you normally see, my guide to cake nirvana has been Rose Levy Bernanbaum’s The Cake Bible. It helped me build a gigantic two tier, fondant covered cake for my nephew’s bar mitzvah and confidence in my cake making skills. She has you mix the dry ingredients first and then cream the butter, liquids and eggs. It feels wrong at first but trust me it all works.
- You can halve the recipe and please do if you have a small amount of mouths to feed.
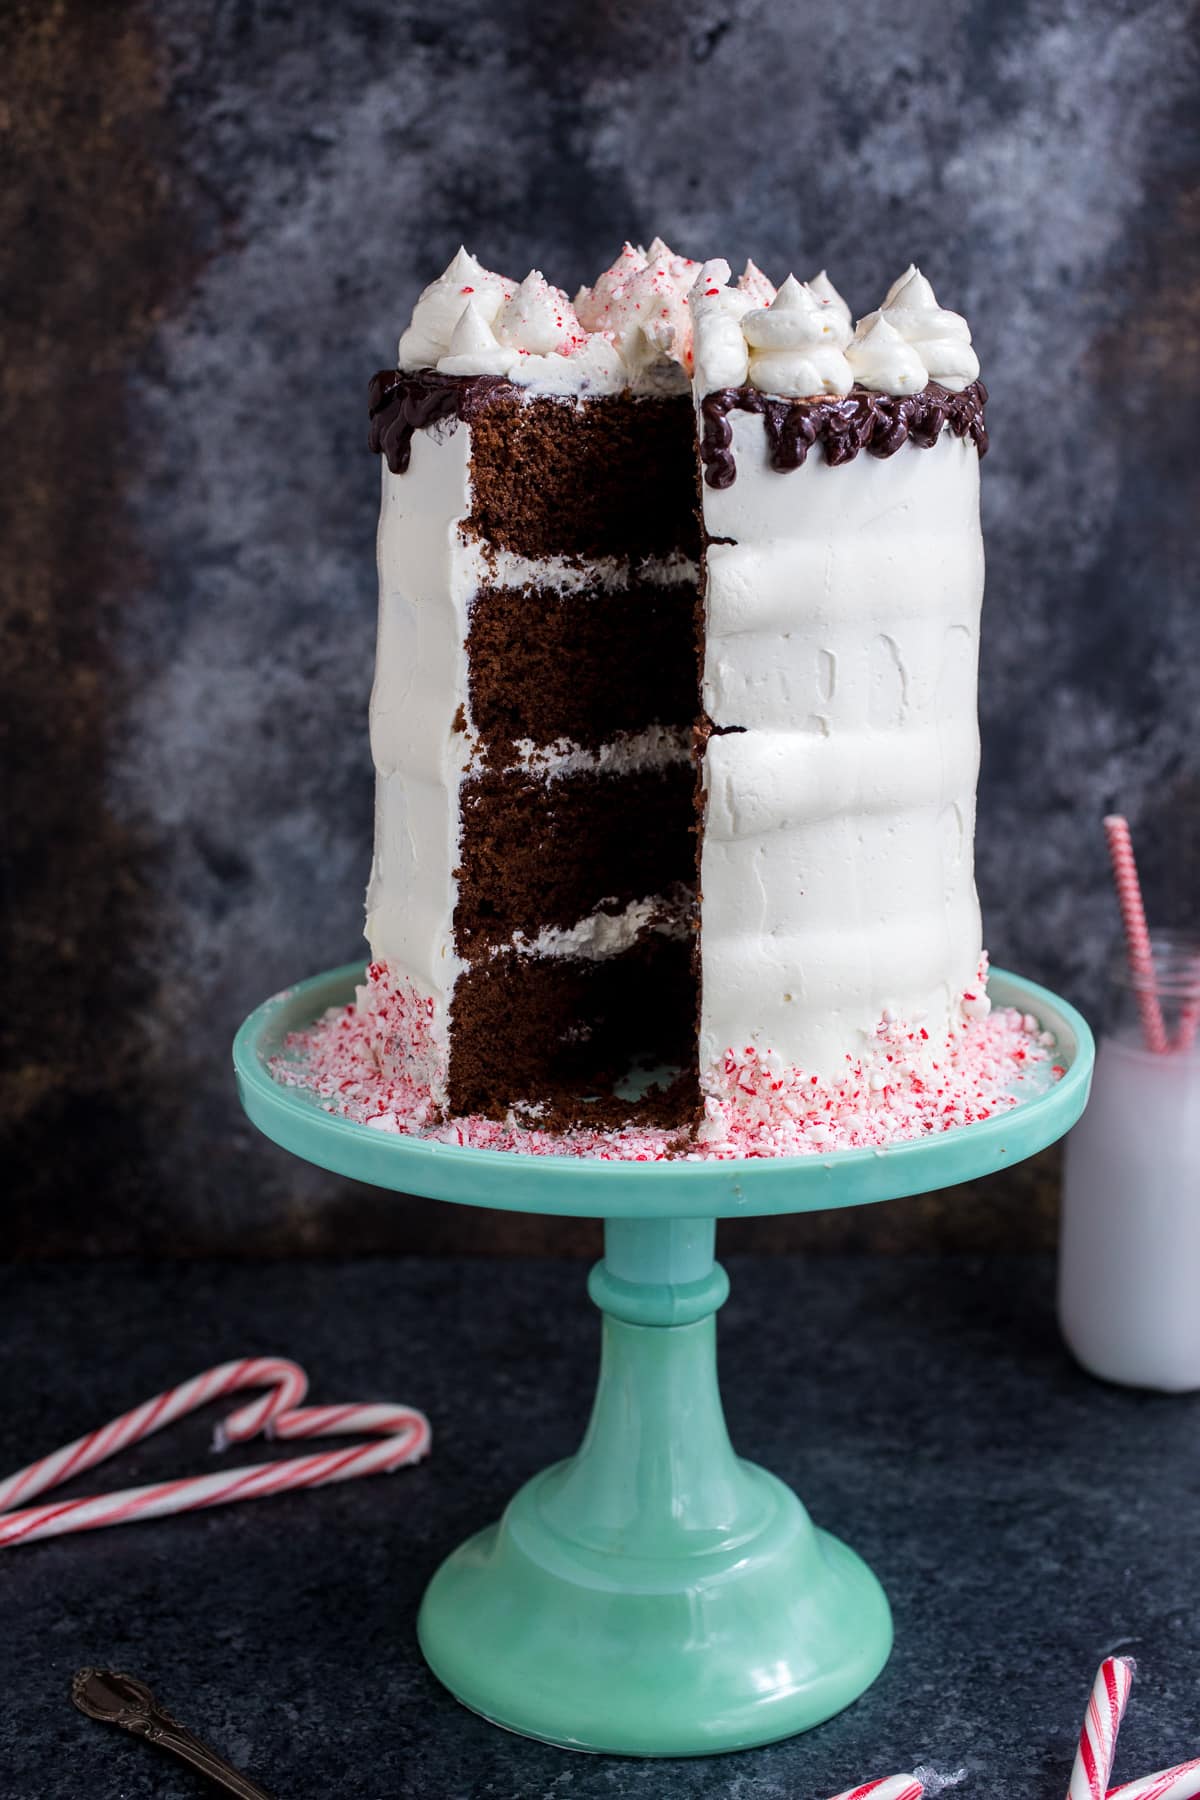
- Despite the height the cake is pretty sturdy. I still recommend picking up some dowels for extra support
- This cake is baked in 6×2 inch cake pans. It can also be baked into 9×2 inch pans for a 3 layer cake or pour everything into a 10×3 pan for one layer to cut in half to make 2 layers. Please adjust for baking time accordingly and again weigh your layers as you pour into each pan, except the 10×3 round.
- The frosting, this is not your typical American buttercream of confectioners sugar and butter. Once you try mousseline buttercream you will never go back. It also uses up the excess egg whites that aren’t needed to make the cake
- Normally I would tell you to chill the cake between the crumb and top coat. I didn’t because this would not fit in my fridge. The choice is up to you.
- Speaking of refrigeration there is a debate on whether mousseline buttercream should be refrigerated or not. If you plan on serving within a day or two, you’re fine. Any longer I would refrigerate. Also if you’re weird about the eggs, use pasteurized egg whites in the recipe.
 Save Recipe
Ingredients
- 8 large egg yolks, room temperature (reserve 6 of the whites for later)
- 320 grams sour cream
- 3 teaspoons vanilla extract
- 400 grams unbleached all-purpose flour
- 400 grams cane sugar
- 100 grams cocoa powder
- 1 teaspoon baking powder
- 1 teaspoon baking soda
- 1 teaspoon salt
- 1 1/2 cups unsalted butter, room temperature
- 6 egg whites, room temperature
- pinch of salt
- 170 grams white chocolate, melted and cooled
- 200 grams cane sugar
- 1/2 cup water
- 2 cups unsalted butter, cut into pieces and softened
- 1 tablespoon peppermint extract
- 1/2 teaspoon pure vanilla extract
- 1/4 cup heavy cream + 2 tablespoons
- 1/4 cup dark chocolate
- Crushed candy canes for decoration
Instructions
- Heat your oven to 350 degrees and grease and flour 4 6x2 round cake pans or if you only have 2, repeat the process once the first round of cakes have cooled.
- In a small bowl whisk together the egg yolks, 1/3 of the sour cream and vanilla extract.
- In the bowl of your stand mixer fitted with the paddle attachment combine the flour, sugar, cocoa powder, baking powder, baking soda and salt. Mix on low to combine.
- Add in the butter and starting on low speed mix until the butter is incorporated and then gradually increase until the flour and butter is broken up into small pebble like pieces.
- Mix in the sour cream until combined and then add in the egg yolks mixture in 3 parts. Scrape down the sides of the bowl as necessary.
- Using your scale divide about 15 ounces of batter between the cake pans and bake for 30-35 minutes until a toothpick comes out clean and the cakes start to pull away from the sides of the pan.
- Let cool in the pan for 20 minutes before removing and cooling completely on a wire rack.
- The cakes can be made ahead of time and wrapped in saran wrap if frosting the next day or frozen for up to a month.
- To make the buttercream place the egg whites and salt in your stand mixer fitted with the whisk attachment and beat until it reaches soft peaks.
- While the egg whites are beating, make the sugar syrup to pour into the egg whites by adding the sugar and water in a medium saucepan over medium heat with a candy thermometer attached to the saucepan. Bring to a boil and cook until the temperature reaches 248 degrees F.
- With the mixer on low, very carefully pour in the sugar syrup into the mixer, careful not to pour on the sides of the mixer. Once the syrup has been added, increase the speed to medium high. The egg whites should increase in size as you mix and continue doing so for about 5 minutes or the base of the bowl cools to room temperature.
- At that point start adding your butter one piece at a time until it is all incorporated. During this process it may look like it has curdled but keep on mixing on medium high speed until it is light and airy. Stop the mixer, pour in the melted chocolate, peppermint extract and vanilla extract.
- Whip on high for about another 1-2 minutes.
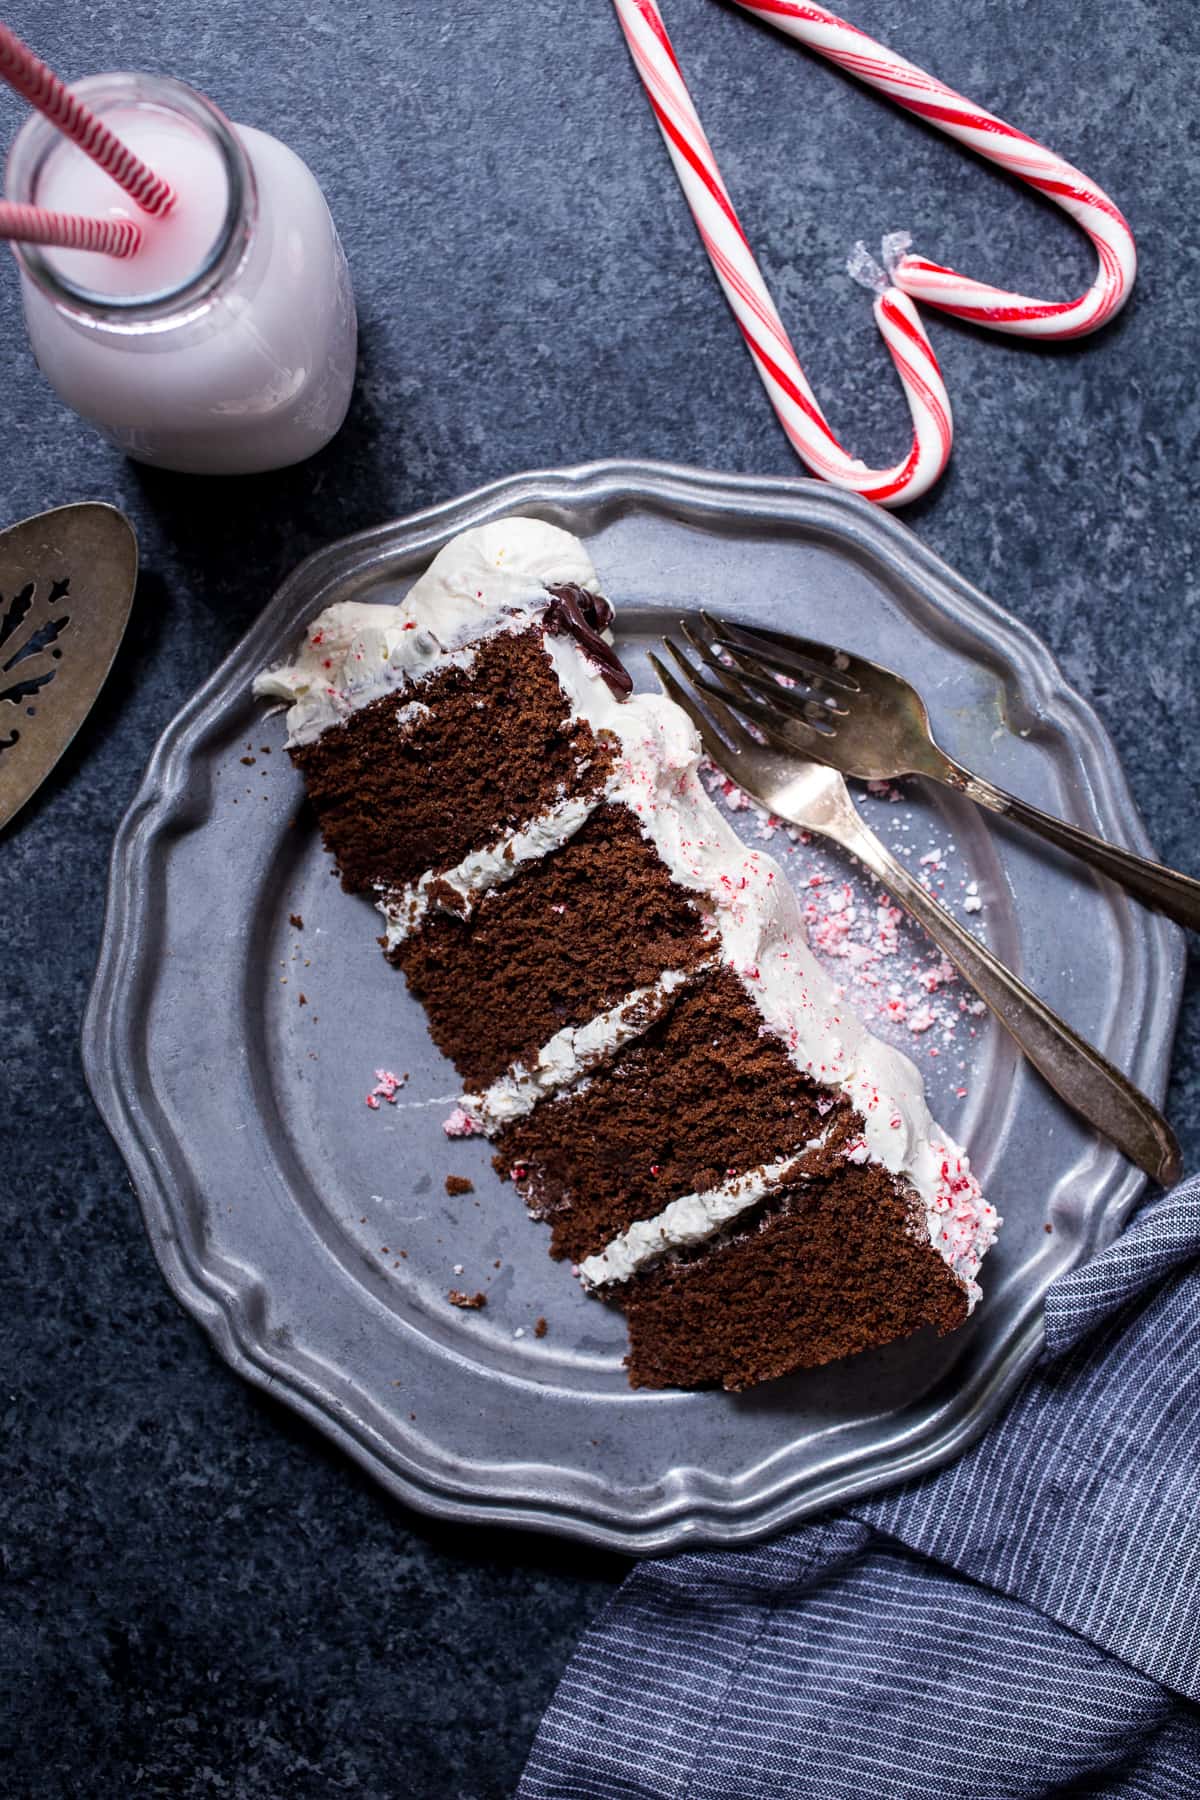
- To build your cake: The layers should end up all even and flat but if necessary trim the tops so they are even.
- Place a small dab of frosting on a 6 inch cake board and add your first layer, top with a generous amount of buttercream and repeat with additional layers. If using dowels insert the dowels once all the layers are in place.
- Add your crumb coating to the cake and if you have room refrigerate for about 30 minutes to set. Remove from the refrigerator and frost the outside and tops of the cake so that they are covered completely. Place back in the fridge to cool for another hour.
- While the cake is chilling prepare the chocolate drip by heat the heavy cream in a small saucepan over medium heat until it just starts to simmer and then pouring it over the chocolate in a small bowl. Let sit for a minute and whisk until smooth. You can either spoon the drip on or pipe with a pipping bag.
- Remove the cake from the fridge and drizzle the chocolate around the sides and over the top.
- Use the remaining buttercream to decorate the top of the cake and finish by decorating crushed candy canes around the sides.
Notes
If you do not have room to refrigerate your cake that is fine. Note that it's a little more difficult to do the chocolate drip on a non-chilled cake but it can be done, it just might not be perfect.
This cake recipe is adapted slightly from Rose Levy Bernanbaum's The Cake Bible
This post contains affiliate links – clicking on these links, helps pay for the cost of running this blog!


This is the perfect birthday cake!!!! It’s gorgeouuuuus and also perfect for the holiday season with the tasty tasty peppermint <3
Thank you so much Kayle!